Again, the question becomes how to glue wallpapers. Wall covering with a wide range of patterns returns to fashion. However, the technology of pasting walls with this material has features.
What tools are needed for sticking photo wallpaper?
Before you start to glue the wallpaper, in addition to the canvas, you need to prepare inventory.
To achieve a better result, you will need the following:
- Stepladder or steady stool (if the hand is missing).
- Clean rags or rubber roller to smooth the fabric.
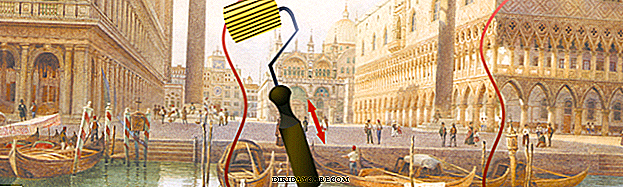
- Glue and capacity for its cultivation.
- Roller or large brush to lubricate the canvas. It will take a small brush to grease loose joints.
- Ruler, pencil, building level or plumb, tape measure for marking walls.
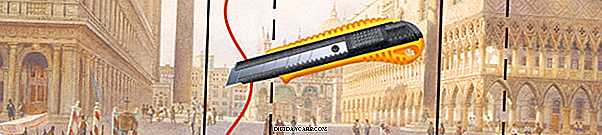
- Office knife or scissors.

What glue glue wallpaper?
A universal adhesive is not suitable for pasting walls with photo wallpapers. They can be glued only on a special glue, otherwise the work done will not bring results. Do not necessarily chase after foreign manufacturers. With the right approach to the choice, you can purchase a quality and reliable composition of the domestic brand.
Basic rules of choice
- Firstly, the glue should not have a sharp, repulsive odor.
- Secondly, it is recommended to give preference to a moisture-resistant composition - this will protect against the appearance of fungus and dampness under fights.
- It is necessary to pay attention to the drying time.
- High-quality and reliable glue dries quickly.
There are several types of photo wallpapers. Each of them is recommended to glue the composition intended for a particular material.
- The paper sheet can be glued with universal glue or paper glue.
- And for murals and laminated photo wallpaper you will need a special composition for heavy vinyl wallpapers.
Those who are going to glue the wallpaper for the first time, it is recommended to remember the unspoken rule: the denser the material, the thicker you need to breed adhesive. Ideal when it is the same brand with photo wallpaper.

Surface preparation
Before pasting it is necessary to carefully prepare the walls. The degree of preparatory work depends on the initial state of the surface.
- If the wall is smooth, with no visible defects, you can immediately glue the canvas. If there are obvious irregularities and cracks, you will have to plaster the wall, otherwise all the defects will appear through the wallpaper. After plastering, go through the finishing putty and cover the walls with a primer of neutral tones.
- Before you begin to glue, it is better to remove dirt, dust, spider webs. Ideally, go vacuuming. This will ensure a snug fit and grip on the wall.
- It is not recommended to glue the wallpaper on the old coating. It is better not to be lazy and tear the wallpaper - they will not show through, and it is not known how two different materials will behave in the future.
- The painted wall as a whole is not an obstacle for pasting, provided that the paint is light and keeps perfect. And peeling paint must be completely removed.
- When choosing a light coating, it is worthwhile to pre-paint the wall with a white acrylic primer.
- It is allowed to glue the wallpaper after the paint has completely dried.


Video instruction for the preparation of walls
Step by step instructions sticking your own hands
During and after work in the room there should be no drafts. Do not glue wallpapers when the air conditioner or fan is running. The optimum temperature of the air in the room is within 22-25 degrees. Directly the process of pasting depends on the type of photo wallpaper.
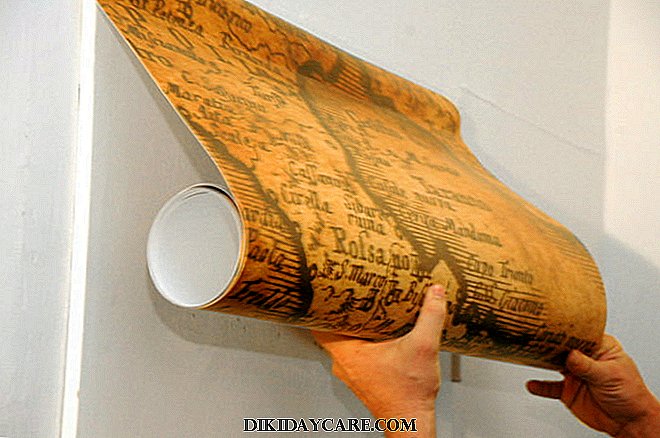
Single canvas
When choosing seamless photo wallpaper good when the dimensions of the canvas with a centimeter accuracy fit into the wall area. If the picture is smaller than the area of the wall, you need to place it in the center so that there is the same distance from the edges to the floor, the ceiling and the corners.
It is difficult to glue on one-piece photo wallpapers on your own, you will need at least one person who will help to keep and smooth the canvas.
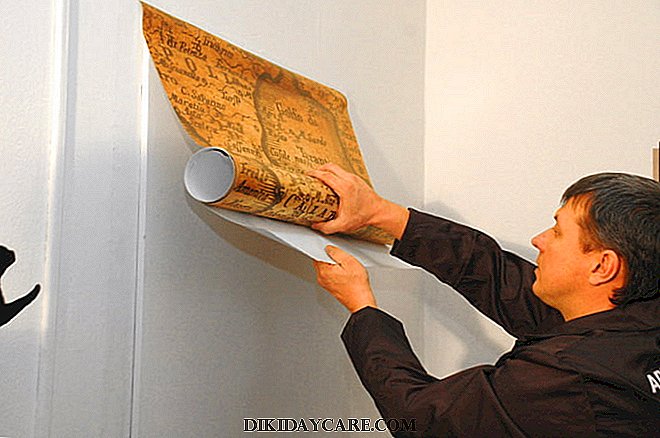
Pasting process
- Remove sockets, switches and other protruding parts.
- Apply adhesive to the wall 2-2.5 meters ahead.
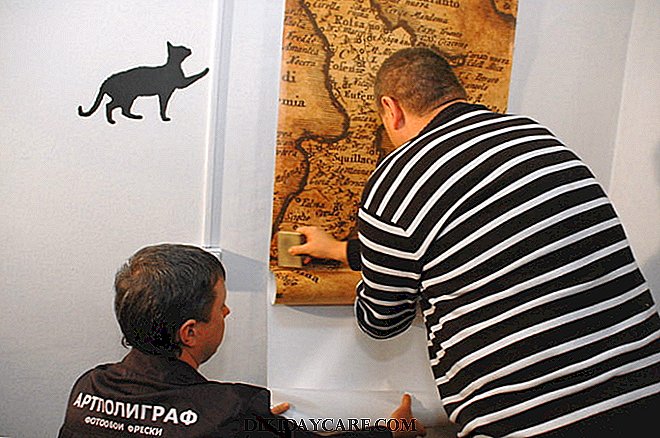
- Tightly attach the wallpaper, gradually smoothing.
- Bottom and top fix the canvas with special slats - this will not allow deformation of the picture.
- Spread the second section of the wall with glue.
- During the application of the canvas to control the location of the picture to avoid skewing.
- In a similar pattern to continue to glue the canvas. When pasting the entire room with one cloth, carefully perform the joint.
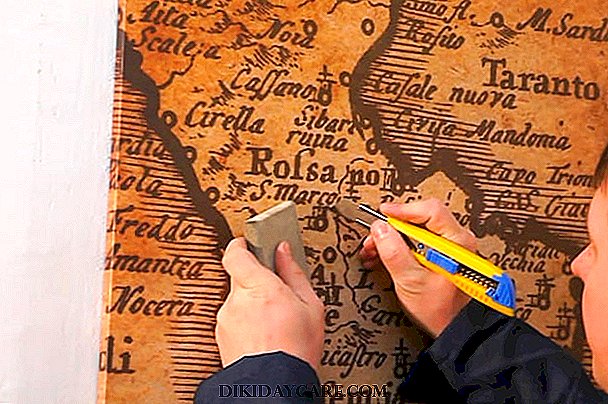
- Cut the remaining wallpaper with a stationery knife.
- Cut openings for sockets and switches, doorways and window openings.
- After one day, remove the fixation slats.
Video instructions
Cut wallpaper
This type of photo wallpaper is available in several versions. The drawing can consist of 4, 6, 8, 9, 12 and 16 parts. The more fragments, the harder it is to glue the canvas, for it should make a perfect alignment of parts of the picture.
How to glue the cut wallpaper?
- Lay out the sheets on the floor by the type of puzzle, so that the pattern of the drawing becomes clear.
- Enumerate each segment, put them in a pile and remove.
- Proceed to marking the wall, starting from the window. Using a level, a pencil and a long ruler, draw a place for the first segment. Ideally, you should get smooth vertical lines. Similarly mark up space for other parts. Marking boundaries must match the size of the future canvas.

- Trim the white margins around the edges of the sheets.
- Spread the first sheet. It is not necessary to soak, it is better to glue immediately.
- Attach the sheet to the wall so that it fits clearly into the marked part of the wall. If there is a stock band on the canvas, glue in an overlap. Then go through the stationery knife in the middle of the strip, soak the joints with glue, smooth the edges.


- Similarly, you need to glue the remaining sheets. Remove excess wallpaper from the top and bottom with a knife and a sharp spatula.
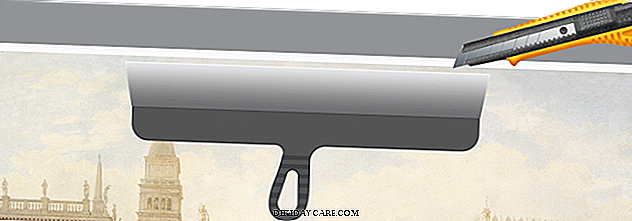


Photo Wallpaper Sticker

Video instructions
Self-adhesive wallpapers
Despite the name, the technique of sticking such wallpapers is complex. It is better to glue together, otherwise a great risk to spoil the canvas. The canvas itself consists of a sheet on which a substrate is attached on the bottom. It protects the adhesive side from drying out.
Step-by-step instruction
- Gradually removing the substrate, glue the sheet in accordance with the markup.
- It is necessary to get to the marked place right away - wallpapers tend to adhere instantly, correction is impossible.
- Make sure that the sticky parts of the sheet do not come into contact with each other, otherwise it will be damaged.
- If bubbles have formed, you can pierce them with a needle or blade, smooth out.


Features of pasting ceiling
Before work it is necessary to prepare the ceiling. If it is uneven, you will need to pre-finish (plastering). Ceiling wallpapers consist mainly of squares and are glued on the principle of a puzzle.
Ceiling pasting algorithm
- Lay out the sheets on the floor, number them to avoid confusion.
- Trim the white margins around the edges.
- Mark the ceiling - each marked square must be the same size as the sheet of wallpaper.
- Spread the ceiling and glue the squares, observing the sequence.

Nuances of pasting the door
Before pasting it is necessary to prepare a work surface. The door must be degreased, cleaned, remove the handles and other protruding elements (if any).
It is recommended to use self-adhesive photo wallpapers, but in the absence of those, anyone sitting on the glue will go.
Nuances of pasting the door:
- If you use chopped wallpaper, you can do with one sheet.
- Solid photowall-paper needs to be cut to the size of the door, taking into account the bend.
- It happens that the composition consists of several sheets. Here you must first try on the pieces, mark the door and start pasting.
- Self-adhesive wallpapers begin to glue on top.
- When gluing ordinary sheets, apply glue to the door, firmly press the wallpaper, smooth it.
- Excess cut off with a stationery knife.
- At the end of the work to return the door hardware in place.

Gluing the photo wallpaper on the door (video)
Tips for beginners
In the absence of experience, fear of spoiling the material and doing empty work may appear. There are several recommendations for beginners to help avoid standard errors:
- People who have no experience in pasting walls should not make a choice on self-adhesive photo wallpaper.
- While working, your hands should be clean - any contamination is very visible and difficult to remove.
- The guarantor of successful pasting is glue. Ideally, you need to choose the wallpaper and adhesive composition of the same manufacturer.
- Mandatory pre-finishing of the walls (removal of the old coating, plaster, putty).
- Particular attention should be paid to the corners.
- After lubrication, the sheets should be immediately glued, not held.
- The overlap on the wallpaper should not exceed 2 mm.
- It is necessary to smooth a cloth from the center to edges.
- Photowall-paper dries for a long time - it is not recommended to open windows in the room for 2-3 days after pasting.
- And most importantly - the design of the canvas should fit harmoniously into the interior of the room.
Pasting the walls with photo wallpapers seems complicated at first glance. But if you approach the process with maximum responsibility, prepare inventory and materials - a positive result is guaranteed. Also, there are enough videos in the network, in which the technique of wallpapering is painted step by step.
Leave Your Comment